
Now that my baby is 3 months away from TWO, I guess it's about time I
get around to posting his 1st birthday party details! We went with a Very Hungry Caterpillar theme! In case you missed it, I mentioned the
beginning of my planning in this post here.
There is no way I could have pulled this off without planning ahead! Yay for organization!
I designed the invitations myself and had them printed on cardstock at Kinkos. I set them up several on a page and trimmed them out to get the most for my money.

Of course, I had to serve the five main fruits from the book. We got the leaf place mats as a wedding gift and I taped black circles on them to look like the caterpillar ate through them.

I also went nuts making tissue paper confetti. I had a circle whole punch from a college project which I put to good use! My hand hurt for about a day after punching a rainbow of circles. When I had the invitations printed, I also had signs printed which I mounted on foam board and attached to fruit with toothpicks.

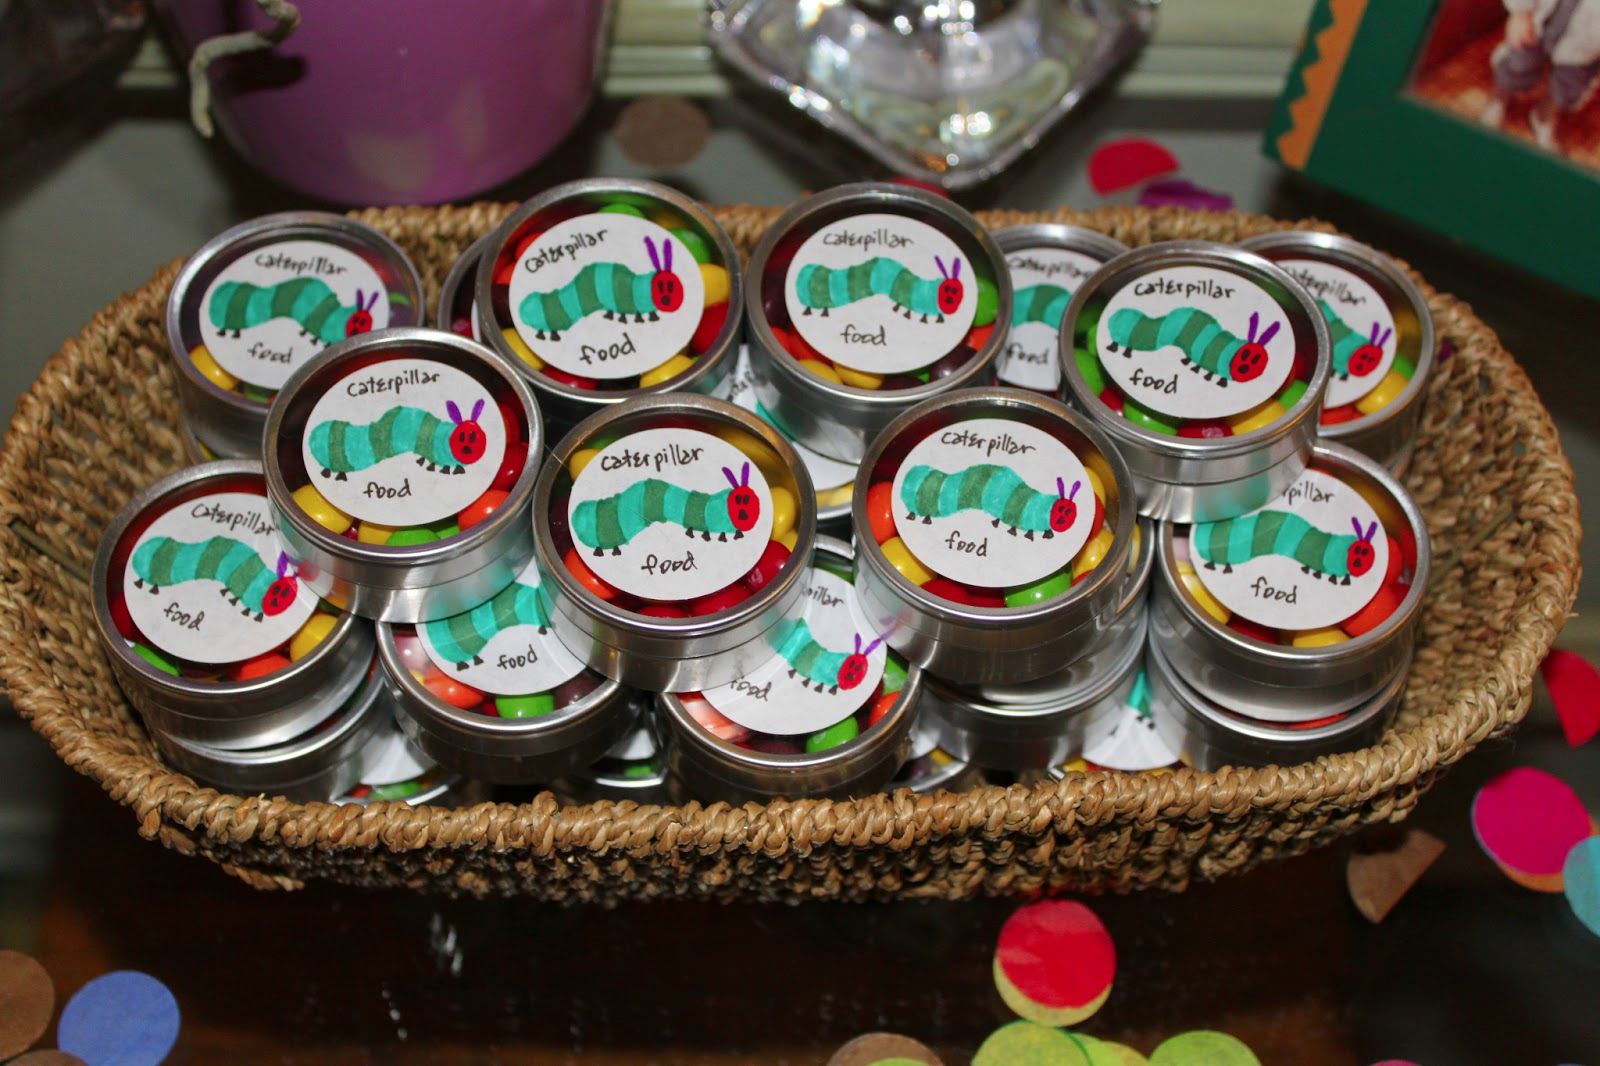
For party favors, I put some leftover wedding favor tins to good use! I never would have come up with this idea if I hadn't been cleaning out my guest closet. I hand drew all the little caterpillars on the labels and filled the tins with caterpillar food (skittles).
I displayed monthly pictures on a giant caterpillar going up the stairs. To make it I traced a kitchen plate onto construction paper for perfect circles.

Here's the caterpillar in it's entirety!

I looked EVERYWHERE to find the giant lollipops for the centerpiece I made. Aaaand, I can't remember where it was that I finally found them! I'll update when I think of it. I just re-wrapped them with clear plastic and taped construction paper number 1s to them. Then I stuck them in a plastic bucket. To weight it down I used pennies topped with shiny blue stones (also left over from our wedding and found during the closet clean out).

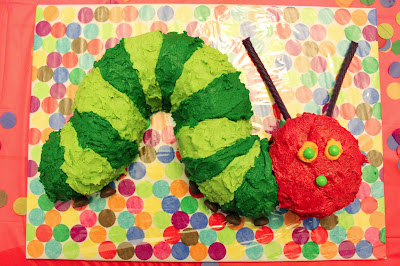
And since you can't have a party without cake, with the help of my talented sister-in-law and mom we made this beauty out of a bundt cake and stacked sheet cake for the head! I made the cake board by modge podging some of my tissue paper circles. And I designed the cake. I may or may not have made a paper mock up of how it would fit together. I also may or may not have researched where I could buy Grapevines candy (Tom Thumb) because the antenna HAD to be purple. I think I got a little crazy in my quest for a perfect 1st birthday party. ;) My sister-in-law did an awesome job of baking the cake and making icing. And my mom did an awesome job of frosting it!
Random fact that I didn't realize until after choosing to do a caterpillar cake: apparently multiple family members of mine had caterpillar cakes for their first birthdays! So it's totally a tradition now. :)
Of course, the birthday boy needed his own mini smash cake! Don't ask me why I thought his first experience with icing should involve red and green dye!
After trying to find a mini bundt pan, I realized it would be cheapest and easiest to just order a bundtlet from Nothing Bundt Cakes. After my sister-in-law, they make the best bundt cakes! Besides, when would I ever need to make one mini cake again?

Here's the whole table scape. Cake! Confetti! YAY!

I even made this cute little sign for the bathroom door after seeing a similar one on Pinterest.

One thing is for sure... this mama had fun at this party! And I'm going to scale back a tad for the second birthday party!
Any good party planning tips? What was your favorite party as a kid? I think I'd have to pick my American Girl Doll themed party!


